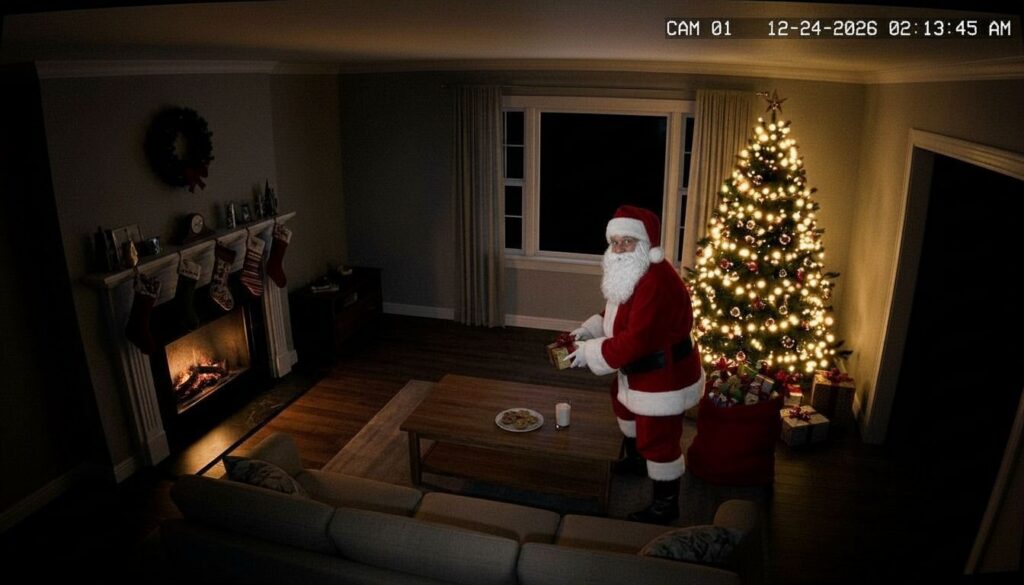
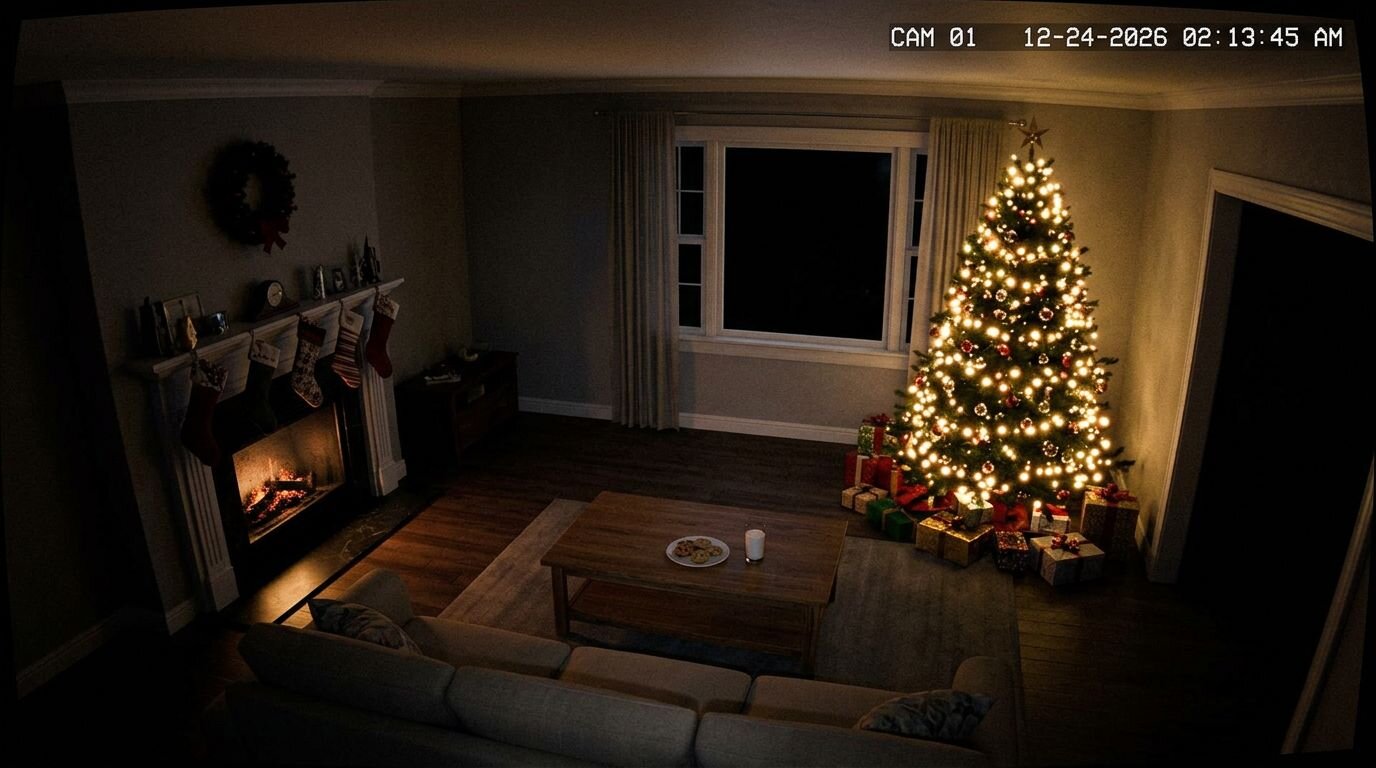
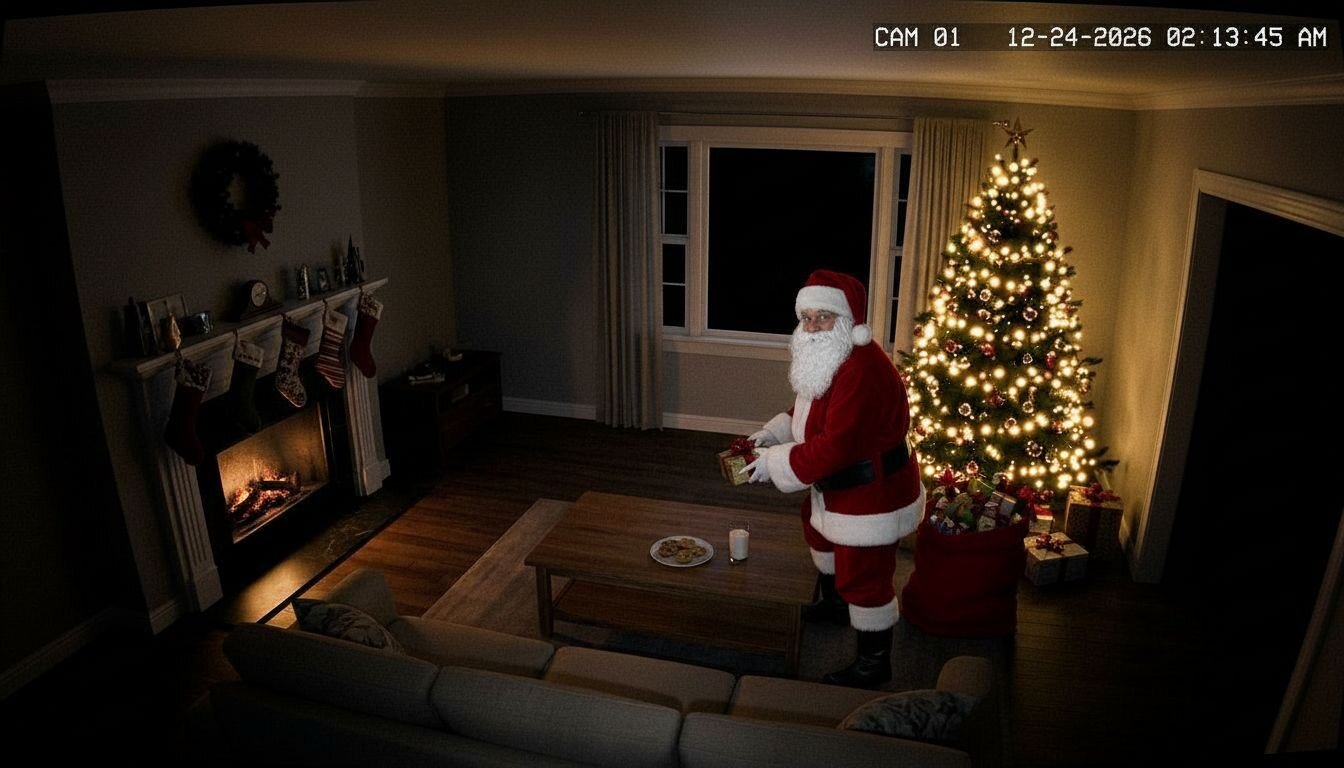
To add Santa to a photo, upload the photo to PixiFixi, choose Add/Remove Object, switch to Add and type what should appear, for example “Santa Claus placing presents under the Christmas tree”. In about 15 seconds Santa is in your photo, lit like the room and casting a shadow. The same works for a Santa hat. If you want the viral “caught Santa on camera” clip, give that photo to the video generator and Santa walks in, leaves the presents and waves at the camera. One edit costs 1 credit and new accounts in most countries get free credits. Below: the photo, the video, the hat, and the sentences that work.
“Santa caught on camera”, made in PixiFixi from one photo of a living room and one sentence.
Open PixiFixi in your browser on a phone or a computer and create a free account. Nothing to install.
Upload the photo. Your living room by the tree, the kids asleep, the front door, the fireplace. Leave some empty space where Santa can stand.
Choose Add/Remove Object and switch to Add.
Describe Santa and where he is: “Santa Claus with a sack of presents placing gifts under the Christmas tree, glancing over his shoulder”. The place (by the tree, next to the bed, at the door) matters most.
Tap Apply. About 15 seconds later Santa is there. Not quite right? Tap again — every run gives a slightly different scene.
If the AI puts Santa behind the sofa instead of next to the tree, open Precise Edit, draw a box with your finger exactly where he should stand and describe him in one sentence. Everything outside the box stays as it was, and the whole edit costs 1 credit.
How to make a “caught Santa on camera” video
The clips that go around every December look like footage from a home security or doorbell camera: a dark room, a timestamp in the corner and Santa walking through. You can make one from any photo of your home.
Take a photo of the room at night with the tree lights on. Stand where a camera would hang: high up, in a corner, wide angle.
Add your photo under “Starting frame (optional)”. The video starts exactly from that frame, so it is your room, not a generic one.
Describe what happens: “Home security camera footage. Santa Claus with a big sack walks into the living room from the right, places presents under the tree, takes a cookie, looks at the camera and waves. Static camera, no camera movement.”
Pick 16:9 for a camera look or 9:16 for Stories and TikTok, choose 5–10 seconds and tap Generate video. It takes a couple of minutes and lands in your history.
“Static camera, no camera movement” is the part people forget. Without it the video drifts and stops looking like a security camera.
Already have a photo with Santa in it? Use Animate Photos instead: pick “Custom” and describe the movement, for example “Santa puts the last present down and quietly walks out of the room”.
How to add a Santa hat to a photo
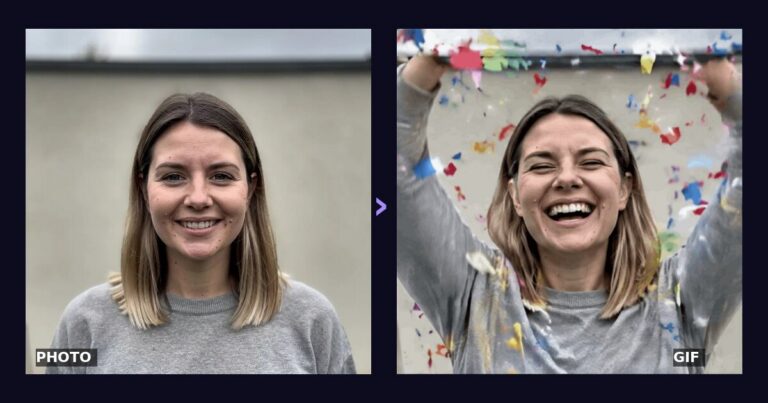
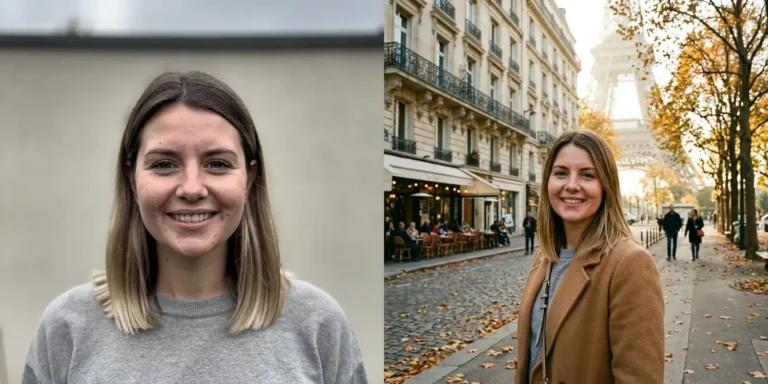
Before and after: “add a red Santa hat with white fur trim on the woman’s head”.
Same tool, shorter sentence. In Add/Remove Object, Add mode, type “a red Santa hat with white fur trim on her head”. In a group photo, say whose head: “…on the man on the left and the girl in the middle”, or “Santa hats on everyone in the photo”. It works on dogs and cats too — try reindeer antlers and a red nose.
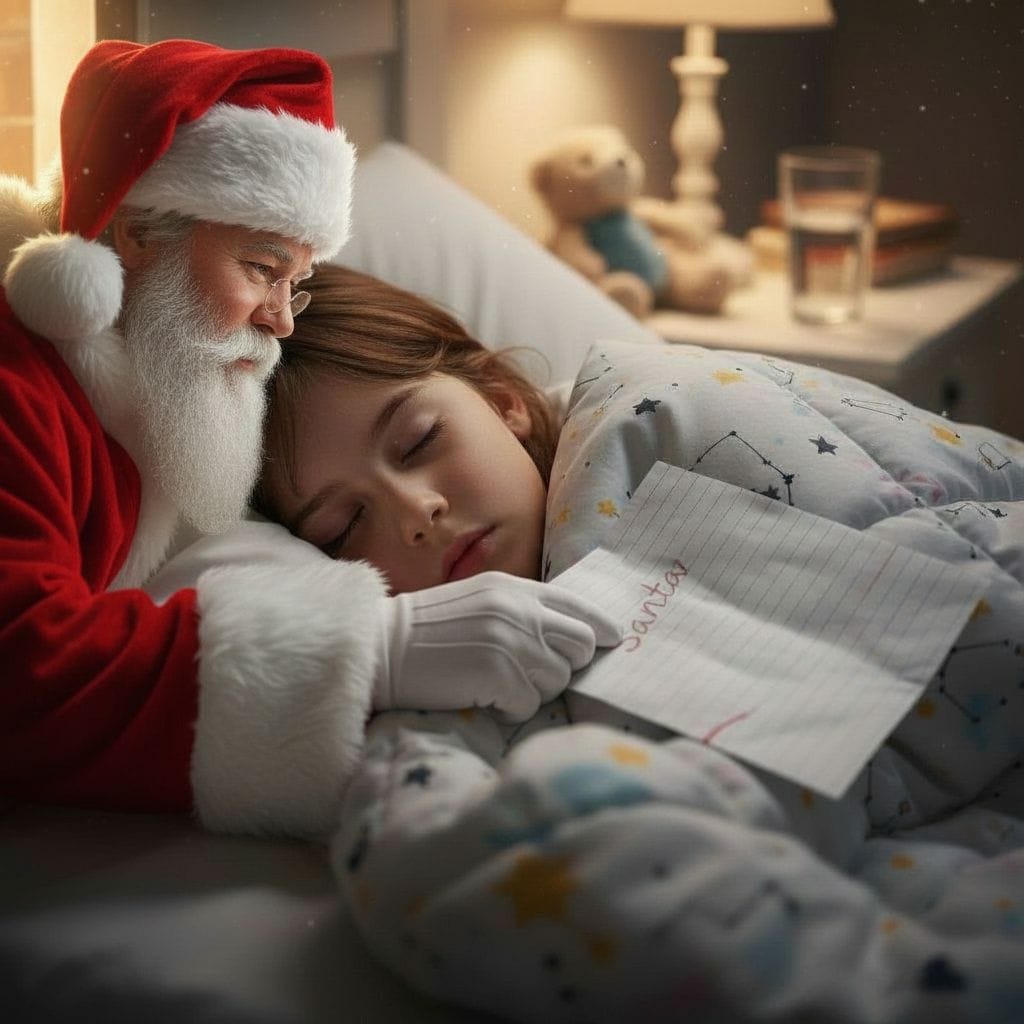
Santa taking a child’s letter
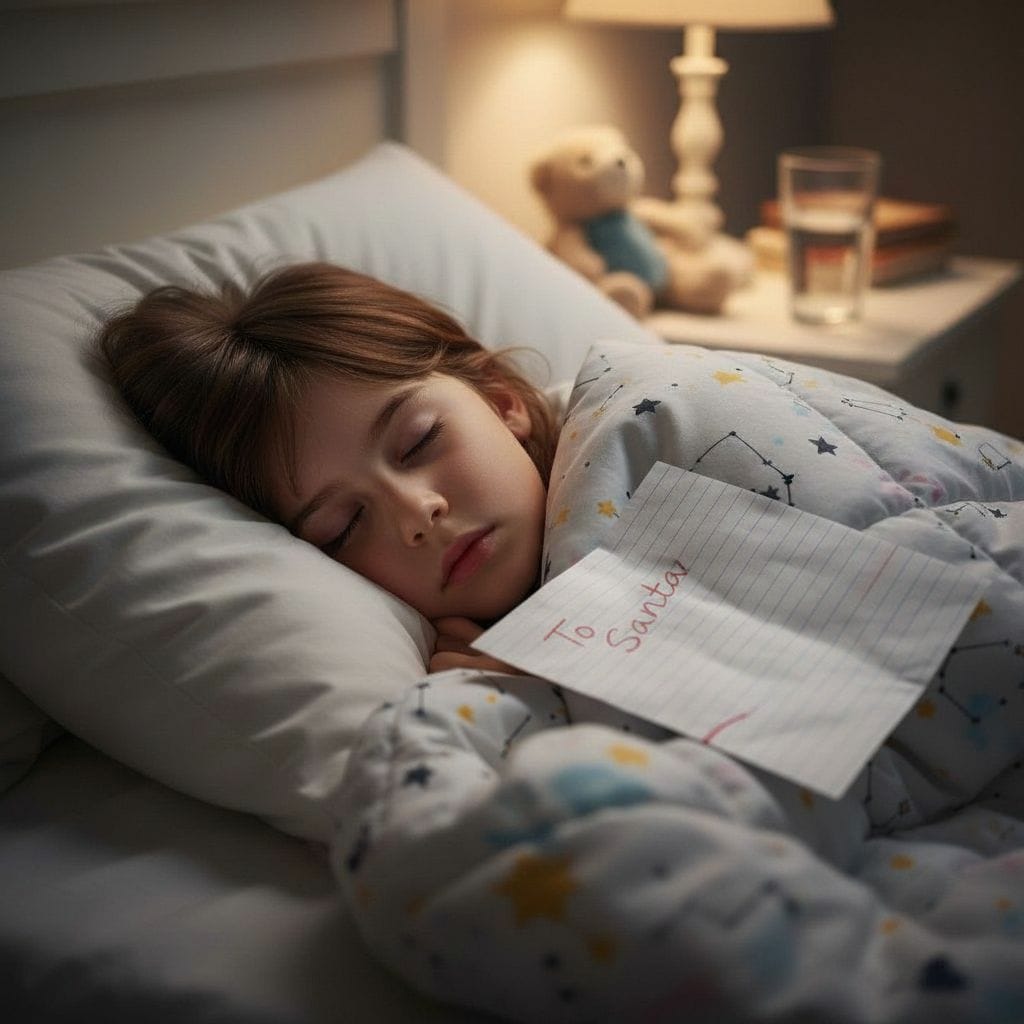
A December favourite: the child leaves a letter on the bed or the windowsill, falls asleep, and in the morning there is a photo of Santa picking it up.
Before: an ordinary photo of a sleeping child with the letter on the blanket.After: “On the left, Santa Claus carefully picks up the letter from the blanket”.
Take the photo in warm, dim light from a bedside lamp, keep the letter clearly visible and leave space on one side of the bed. The flash makes it look staged; the lamp makes it look like the middle of the night.
Sentences that work
“Santa Claus eating cookies by the fireplace, a glass of milk in his hand”
“Santa Claus standing at the front door with a sack of presents, snow falling behind him”
“Santa’s sleigh and reindeer flying past the window against the night sky”
“Santa Claus filling the stockings over the fireplace”
“An elf in a green suit peeking out from behind the Christmas tree”
“Santa Claus taking a selfie with the family at the dinner table”
Tips for a photo that looks real
Shoot the room at night with only the tree lights and a lamp on. Santa takes on that warm light.
Leave empty floor where he can stand. A packed frame gives a squeezed-in Santa.
Wide angle, from high up, if you want the security-camera look.
Use the original photo, not a screenshot or a small thumbnail.
Generate two or three versions and keep the best one.
Want to be Santa yourself?
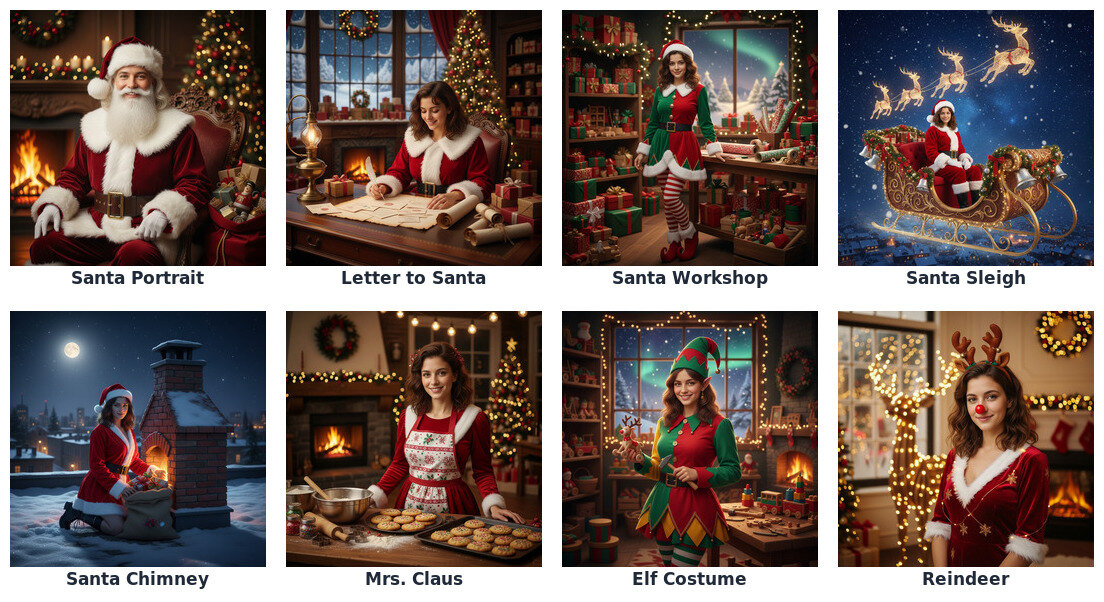
Santa scenes in Photo Shoot → Christmas. Thumbnails from the app.
No adding needed: in Photo Shoot, Christmas category, there are eight Santa scenes — Santa Portrait, Letter to Santa, Santa Workshop, Santa Sleigh, Santa Chimney, Mrs. Claus, Elf Costume and Reindeer. Tap one and the AI dresses you up and moves you into the scene, keeping your face. All 75 Christmas scenes are on the AI Christmas photo page.
Frequently asked questions
How do I add Santa to a photo?
Upload the photo to PixiFixi, choose Add/Remove Object in Add mode and describe Santa and where he is, for example “Santa Claus placing presents under the Christmas tree”. The edit takes about 15 seconds and costs 1 credit.
How do I make a video of Santa caught on camera?
Take a photo of your room at night, open Create → Video, add the photo as the starting frame and describe the scene, ending with “static camera, no camera movement”. The AI video generator makes a 5–10 second clip from 3 credits.
Is there a free app to add Santa to a photo?
PixiFixi runs in the browser on any phone, with no app to install. New accounts in most countries get free credits, and adding Santa costs 1 credit, so the first photo is free.
Does Santa look realistic?
Yes. The AI matches the light, shadows and perspective of your photo. It looks most real in warm, dim light with free space where Santa stands.
How do I add a Santa hat to a photo?
In Add/Remove Object, Add mode, type “a red Santa hat with white fur trim on his head”. For a group, say whose head, or ask for “Santa hats on everyone in the photo”.
Can I put Santa in a photo of my kids?
Yes, and the photo stays private: only you see your photos and results, they never appear in a public gallery, and you can delete them from your history at any time.
Do I need Photoshop or any editing skills?
No. You type one sentence; there is nothing to cut out or paste. If you want an exact spot, Precise Edit lets you draw a box with your finger.
What language can I write in?
Any. Descriptions are translated for the AI engine behind the scenes.